
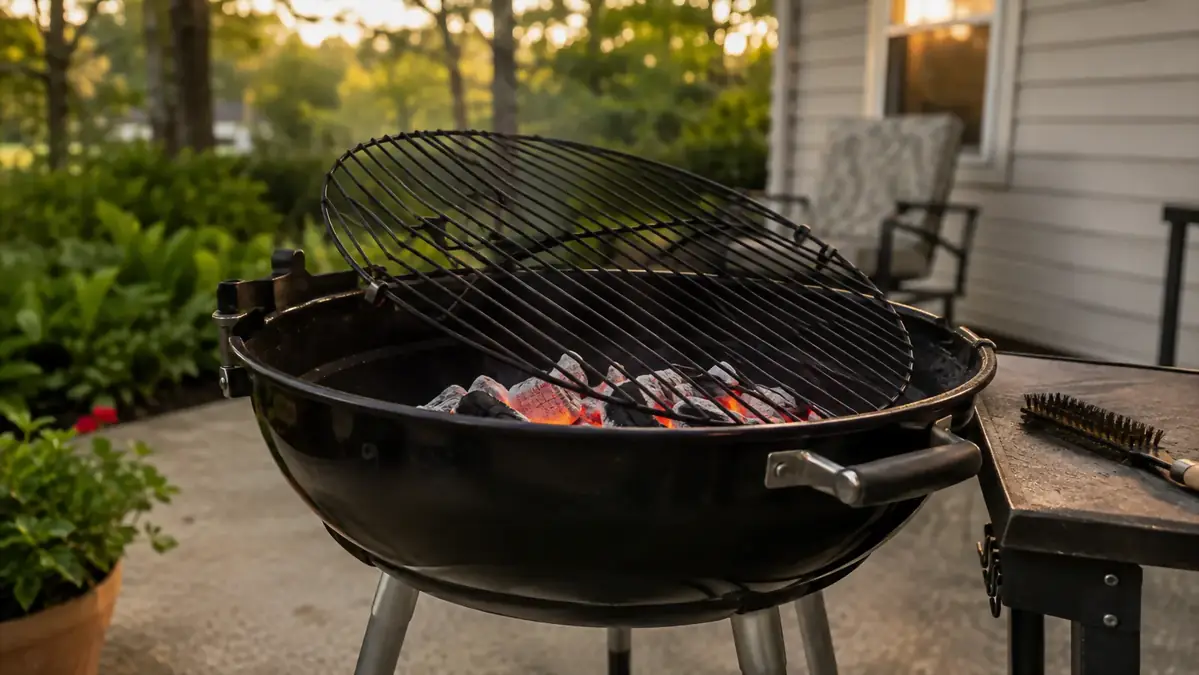
Renata used to give me grief about how long a cookout would drag on after the food was already off the grill, because I'd let the grate sit there crusted with drippings until the fire died all the way down and everything finally cooled off enough to touch with a bare hand. That's backwards. A hot grate scrubs clean in about a third of the time a cold one does, since the grease and stuck-on bits are still soft instead of baked hard by the time you get around to it the next morning. The catch is obvious: you can't grab a grate that's still throwing off real heat with your bare hand, and tongs wrapped in a folded dish towel only get you so far before something slips and you're back at the sink running cold water over your knuckles.
I used to put the whole job off until the next weekend, which meant scraping a second layer of burnt-on grease off on top of the first one every single time I finally got around to it. What changed things was picking up a DELSbbq cast iron grate lifter and actually using it the way I'd been avoiding, cleaning the grate while it's still hot instead of waiting the fire out. It sounds obvious once you've done it, but it took me two full grilling seasons of scrubbing cold, stubborn crust off a grate before I figured out the fire was already doing half the work for me if I just moved fast enough to use it. Here's the routine I run now, start to finish, most nights in under five minutes.
This isn't complicated enough to need a course of steps, but the order matters more than it looks like it would. Skip ahead or do it out of sequence, mostly the brushing before the lifting, and you end up fighting the same hot metal with your hands too close to the fire that got you into this mess in the first place. I've broken it down the way I actually do it every time, not the way it sounds cleanest on paper.
The tool that turns a scraping match into a thirty-second job
A DELSbbq cast iron grate lifter is the difference between cleaning a hot grate in under a minute and putting it off until it's baked on. See what it costs today.
Amazon Check Today's Price on Amazon →Step 1: Read the Fire Before You Touch the Grate
The window I'm after is right after the last plate comes off the grill, while the coals are still glowing and the grate itself is still radiating enough heat that it's steaming when I hit it with the brush. That's the sweet spot. Wait much longer than that and you've lost the advantage, the grease starts to set up again as everything cools, and you're right back to scraping instead of brushing.
If flames are still jumping up off active flare-ups, I give it another minute or two before starting. You don't need the fire dead, just settled down to steady coals instead of open flame licking up through the bars. Gray ash creeping over the coals is too far gone for what I'm describing here. Glowing red with no active flame is the target.
Before any of this starts, I've already got the lifter within reach on the side table, not buried in a drawer inside the house. Closed-toe shoes on, and if Danielle's friends are hanging around the driveway during a cookout, I ask them to give the grill a few feet of room for the minute this takes. A hot grate moving around near a crowd is the one part of this routine that actually deserves some caution.
I also glance at what's still cooking, if anything, before I start. On nights when Owen's home and there's still a second batch of burgers going, I'll wait until that batch is done rather than trying to clean one side of a grate while food's still on the other half. It's not worth rushing the timing just to save two extra minutes.
Step 2: Hook the Grate and Lift It Clear of the Fire
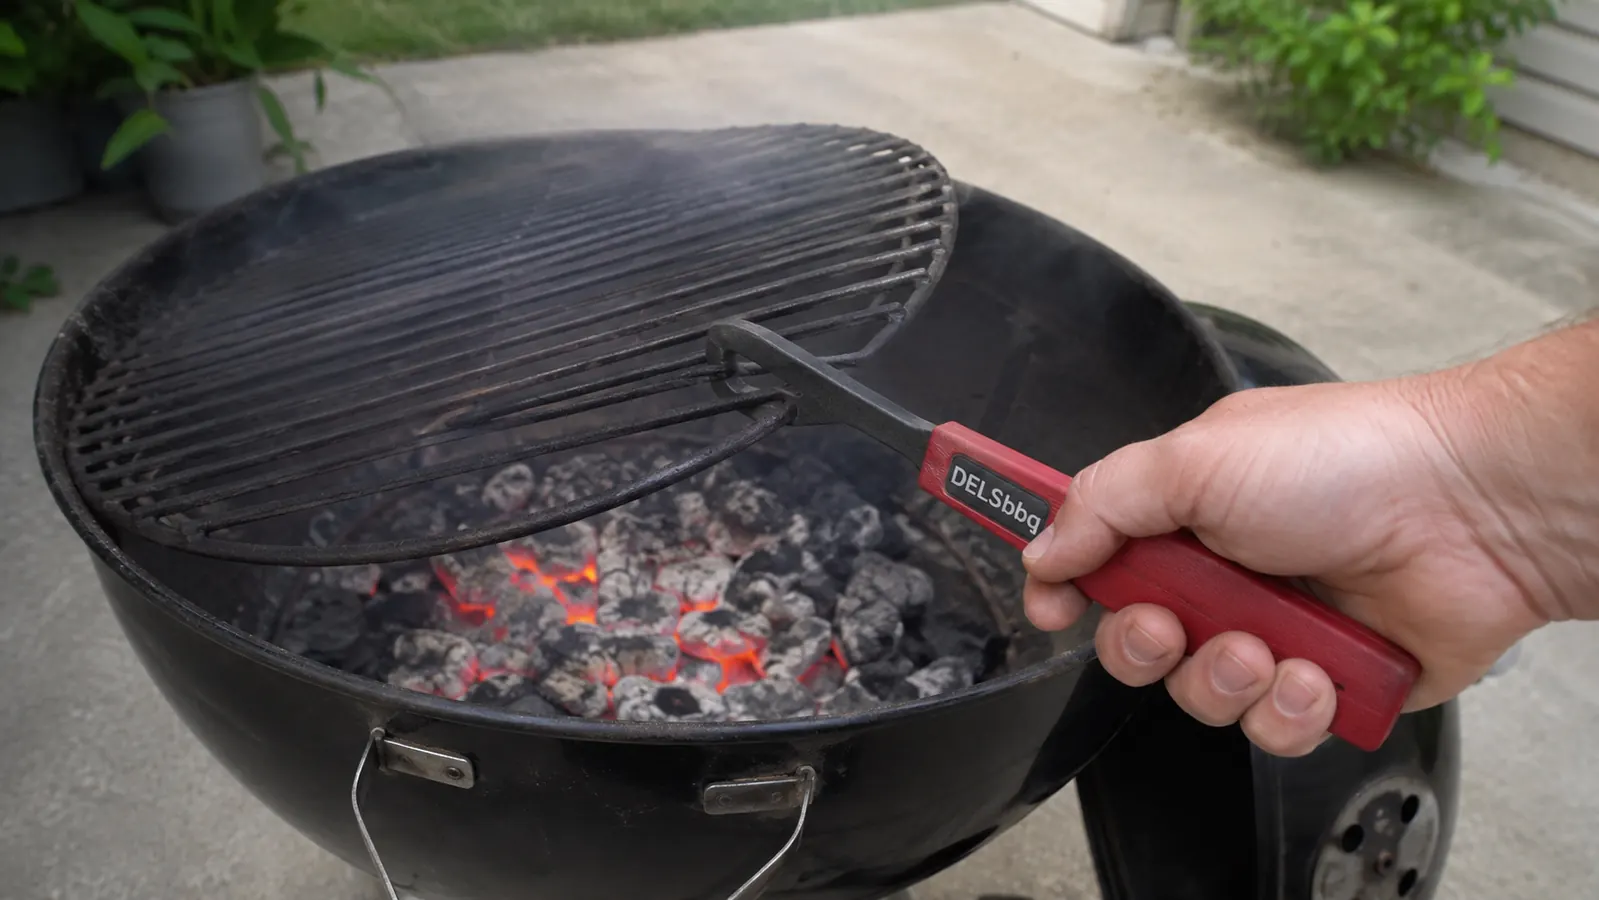
This is the step that used to be the whole problem. Catching the edge bar of a hot grate with tongs and a towel means a wobbly, two-handed fight to keep it level, and I've dropped a loaded grate onto the coals more than once trying it that way. Hooking the bar with the lifter and lifting straight up is a one-handed motion. The grate comes free of the kettle in one clean pull instead of a dragging, off-balance shuffle.
I move it to the side, either propped against the kettle's rim at an angle or set flat on the folding table I keep next to the grill, never straight onto the grass or the driveway concrete where it could scorch something or pick up grit. Getting the grate fully clear of the fire matters here too. Working on it while it's still sitting over active coals means you're brushing crud straight back down into the fire, which just kicks up smoke and ash you don't need in your face.
The reason I keep coming back to the same DELSbbq lifter for this instead of grabbing whatever's closest is the hook shape. It catches the bar and holds the grate level without me fighting to balance it, which matters a lot more once there's food residue making the metal slicker than it looks. I ran a stamped steel version before this one and it flexed under the weight in a way that made me nervous every single time.
Balance matters more than people expect the first few times they try this. A grate loaded with drippings weighs more on one side than you'd guess, and lifting slow instead of yanking it up gives you a second to feel where the weight's sitting before it's fully off the kettle. Once you've done it a dozen times it's second nature, but that first attempt is where most of the near-misses happen.
Step 3: Brush It While It's Still Hot
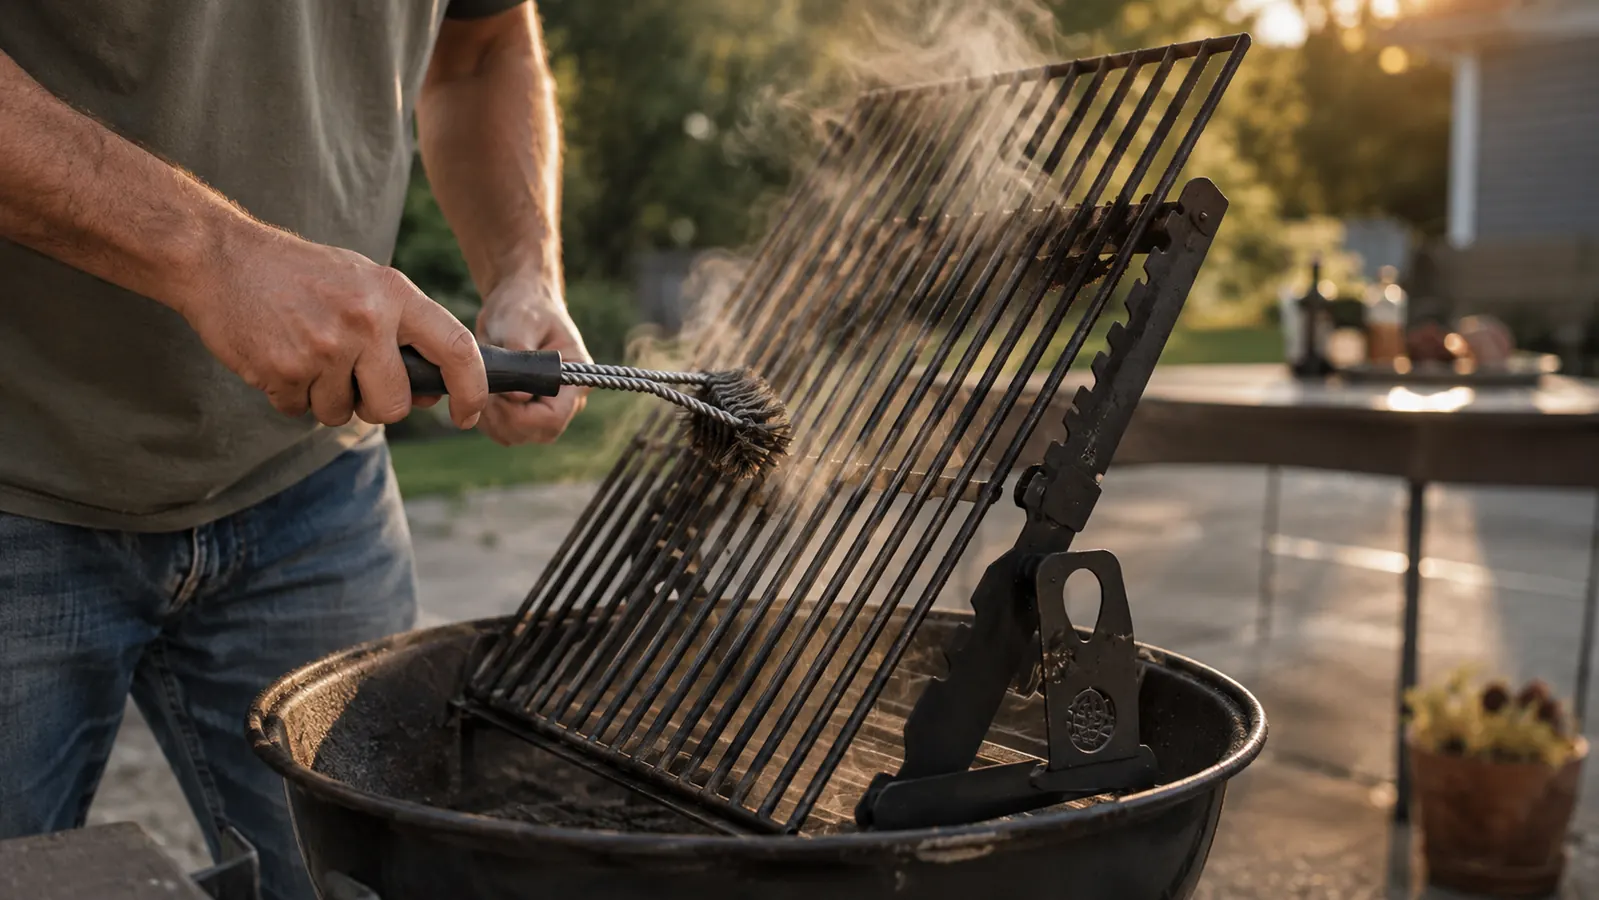
With the grate propped up and steady, this is where the heat does the actual work. A wire grill brush pulled along the bars while they're still hot lifts residue that would otherwise need real elbow grease once everything's cooled and hardened. You'll see it happening, steam coming off wherever the brush passes, and the crust coming away in flakes instead of needing to be scraped.
I work in the same direction as the bars, not across them, and go over each section two or three passes before moving on. Having a free hand from holding the lifter instead of wrestling the grate with tongs means the brushing hand can actually focus on the job instead of also trying to keep the grate from tipping over.
Keep the brush moving away from your body and away from anyone standing nearby, since bits of hardened grease do fly off once in a while. It's a small thing, but it's the kind of detail that matters more with a crowd around than when I'm doing this alone on a Tuesday night after a quick weeknight cook.
Brass bristles are gentler on porcelain-coated grates than stainless steel ones, which matters if yours has a coating instead of bare cast iron. Mine is bare cast iron on the kettle, so a stiffer stainless brush works fine, but I keep a brass one around too since Owen's grate at his place is coated and a stiff brush would just chew through the finish.
Step 4: Wipe It Down and Check for Rust or Warping
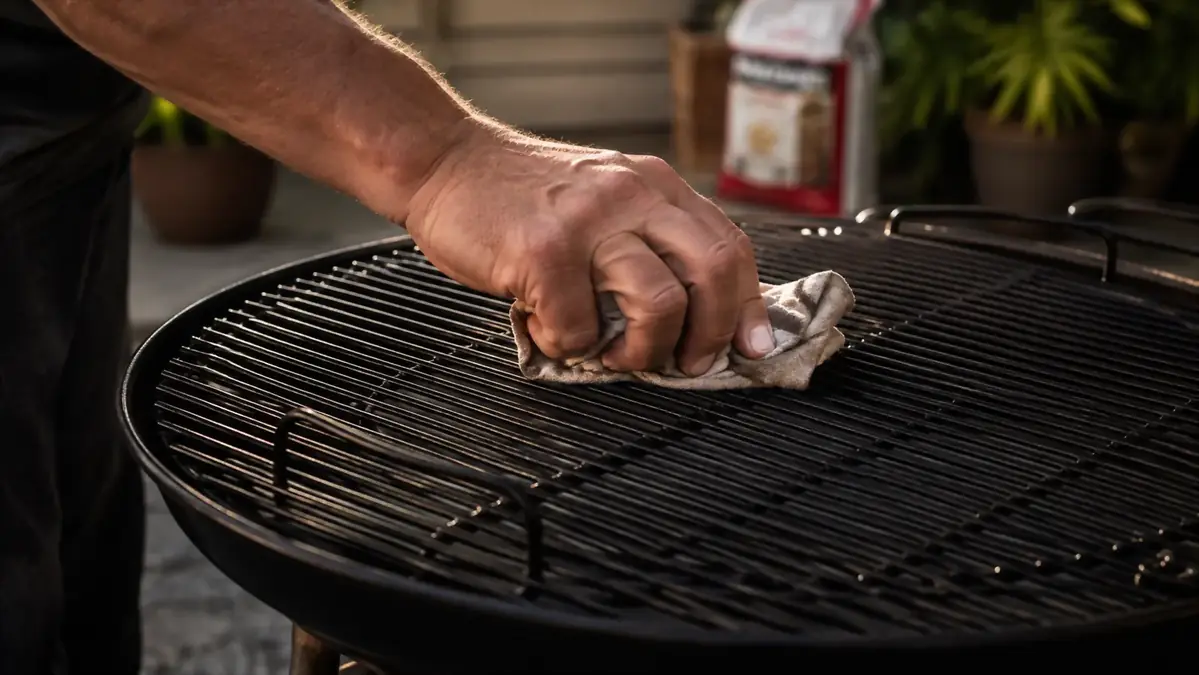
Once the brushing's done, I run a damp rag or a folded paper towel over the bars to knock off the loose flakes the brush left behind. This is also the moment I actually look the grate over instead of just setting it back down out of habit. Rust spots show up as a dull orange dust on the rag, and catching that early means a quick scrub now instead of a grate that's pitted by next season.
I also check for warping while it's out of the kettle and easy to see against a flat surface. A grate that's been dragged sideways or dropped over the years starts to bow in the middle, and it stops sitting flat once it's back on the grill. If you're still deciding between a lifter and just toughing it out with gloves, I laid out the tradeoffs in a full comparison against grill gloves, and warping is a big part of why the lifter won that argument for me.
None of this takes more than thirty seconds if the grate's in decent shape, which it usually is now that I'm not letting crust sit for three weekends before dealing with it. It's the kind of check that only happens because the grate's already out and in my hands, not because I went looking for a reason to inspect it.
A little rust here and there isn't the end of the world, cast iron and steel grates both throw off some surface rust if they sit outside through a wet week. What you're watching for is rust that keeps coming back to the same spot every time you check, since that usually means the seasoning wore through down to bare metal and needs a proper re-oiling, not just a wipe.
Step 5: Set It Back Down and Give It a Quick Coat of Oil
While the grate's still got some warmth left in it, I wipe on a light coat of oil with a clean rag. Oil bonds better to warm metal than cold, so this step does more for keeping the grate seasoned than the same wipe-down would do the next time I fire the grill up cold.
Setting it back onto the kettle is the same one-handed hook motion as pulling it off, just in reverse. Line the bar up with the rim and lower it into place, no fumbling with a hot towel or trying to guess where the edges land. The whole routine, hook it, brush it, wipe it, oil it, set it back, runs under five minutes once you've done it a handful of times.
That's a different world from where I started, scrubbing a cold, hardened grate for twenty minutes with a stiff brush and a lot of complaining under my breath. I covered how this same DELSbbq lifter changed a full season of cooking, not just cleanup, in my longer review after a season on the kettle, if you want the fuller picture of what it's replaced on my grill cart.
What Else Helps
A decent wire grill brush still matters here, the lifter doesn't replace it, it just makes using one safer and a lot less awkward. I keep a stiff brass-bristle brush on the side table right next to the lifter so neither one goes missing when I need both at once. A little high-heat cooking oil in a squeeze bottle beats spraying from a can too, since you control exactly how much goes on instead of coating half the driveway along with the grate.
I also keep a second rag just for oiling, separate from the one I use to wipe off ash and grease. Using the same rag for both jobs means you're smearing soot back into the oil coat instead of laying down something clean. It's a small habit, but it's the difference between a grate that looks maintained and one that just looks greasy.
The fire was already doing half the work. I just needed a way to get my hand in there without paying for it.
Clean grates in five minutes, not twenty
The DELSbbq cast iron grate lifter is what turned a cold, hardened scrub job into a hot, five-minute routine on my kettle. See what it runs today.
Amazon Check Today's Price on Amazon →