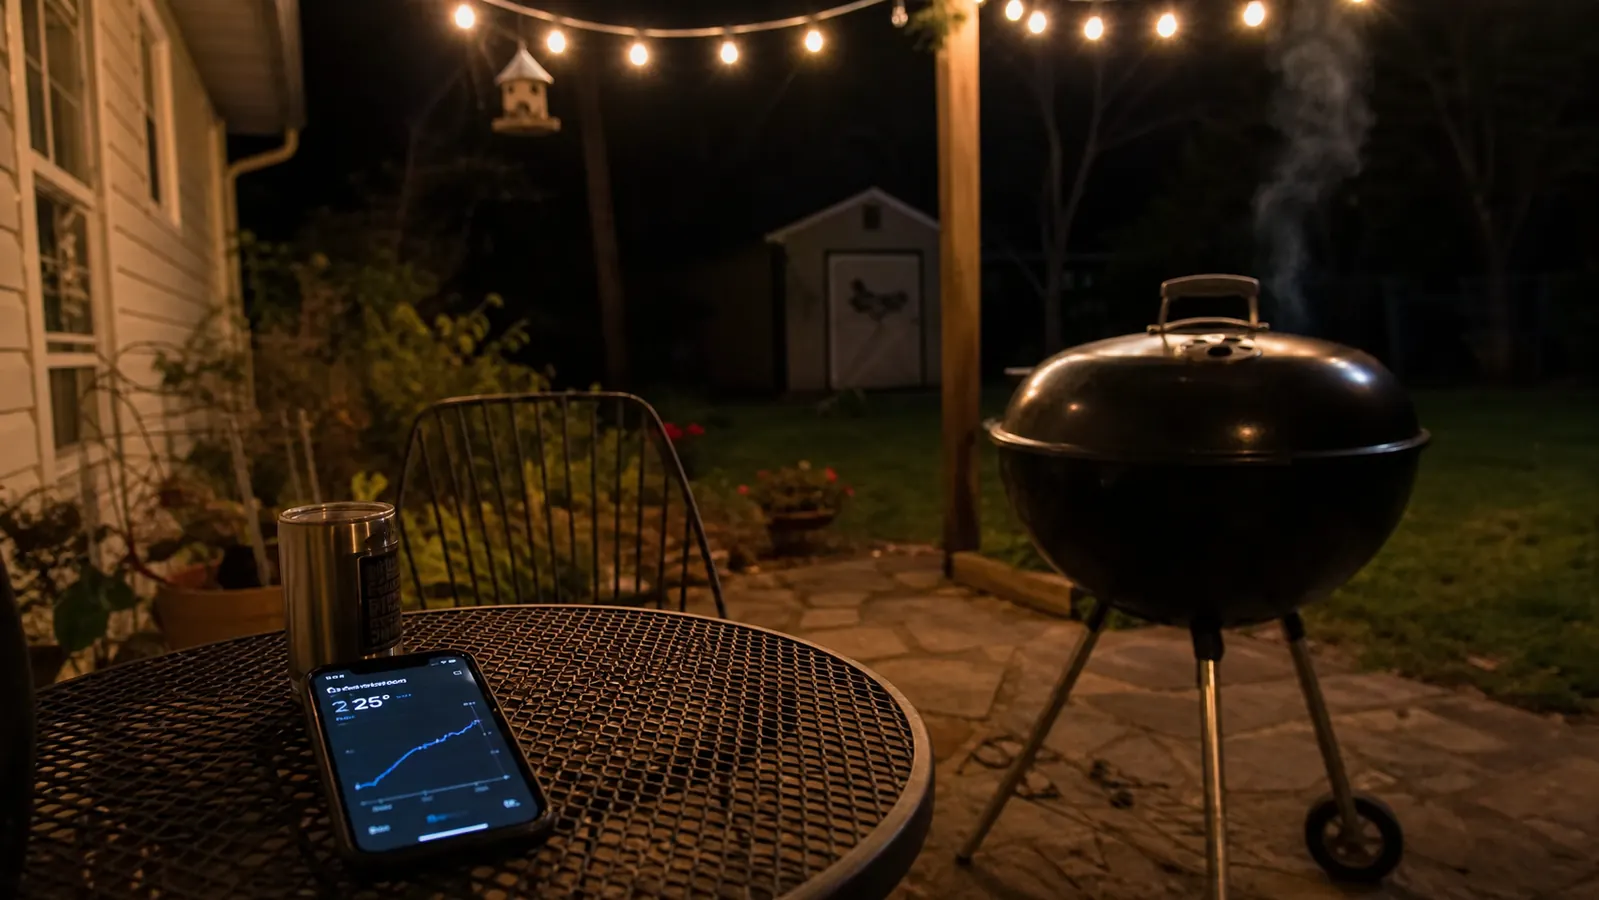
The worst part of an overnight brisket isn't the twelve or fourteen hours it takes. It's the two or three times you wake up wondering if the fire went out, or worse, ran hot enough to dry out a twelve-pound packer while you slept through your alarm. I ran overnight cooks like that for years on my 22-inch kettle, up at 2am in a bathrobe with a flashlight, cracking a vent by feel and hoping I'd guessed right before I went back to bed. Some nights I guessed close enough. Other nights I woke up to a chamber twenty degrees off target and a bark that never set the way it should have, and there's no fixing that once the cook is already twelve hours in.
What actually fixed it wasn't more coffee or a better alarm clock. It was setting up an automatic fan controller the right way, once, so it could do the vent watching for me instead of me doing it badly at 2am. I run an Inkbird Wi-Fi and Bluetooth BBQ Smoker Temperature Controller on that same kettle now, and the difference isn't that it's smarter than I am, it's that it never gets tired and never falls back asleep after checking. Here's exactly how I set mine up so it holds a steady chamber temperature through a full overnight cook, step by step, including the mistakes I made the first time that nearly cost me a slow start on Owen's birthday brisket. I cover the whole season it's been running in my long-term review of the same controller, but this is just the setup.
Tired of waking up at 2am to babysit a vent that might already be wrong?
The Inkbird controller does the checking so you don't have to, holding your chamber steady while you actually sleep through the night. See today's price on Amazon before your next overnight cook.
Amazon Check Today's Price on Amazon →Step 1: Mount the Fan on the Intake Vent
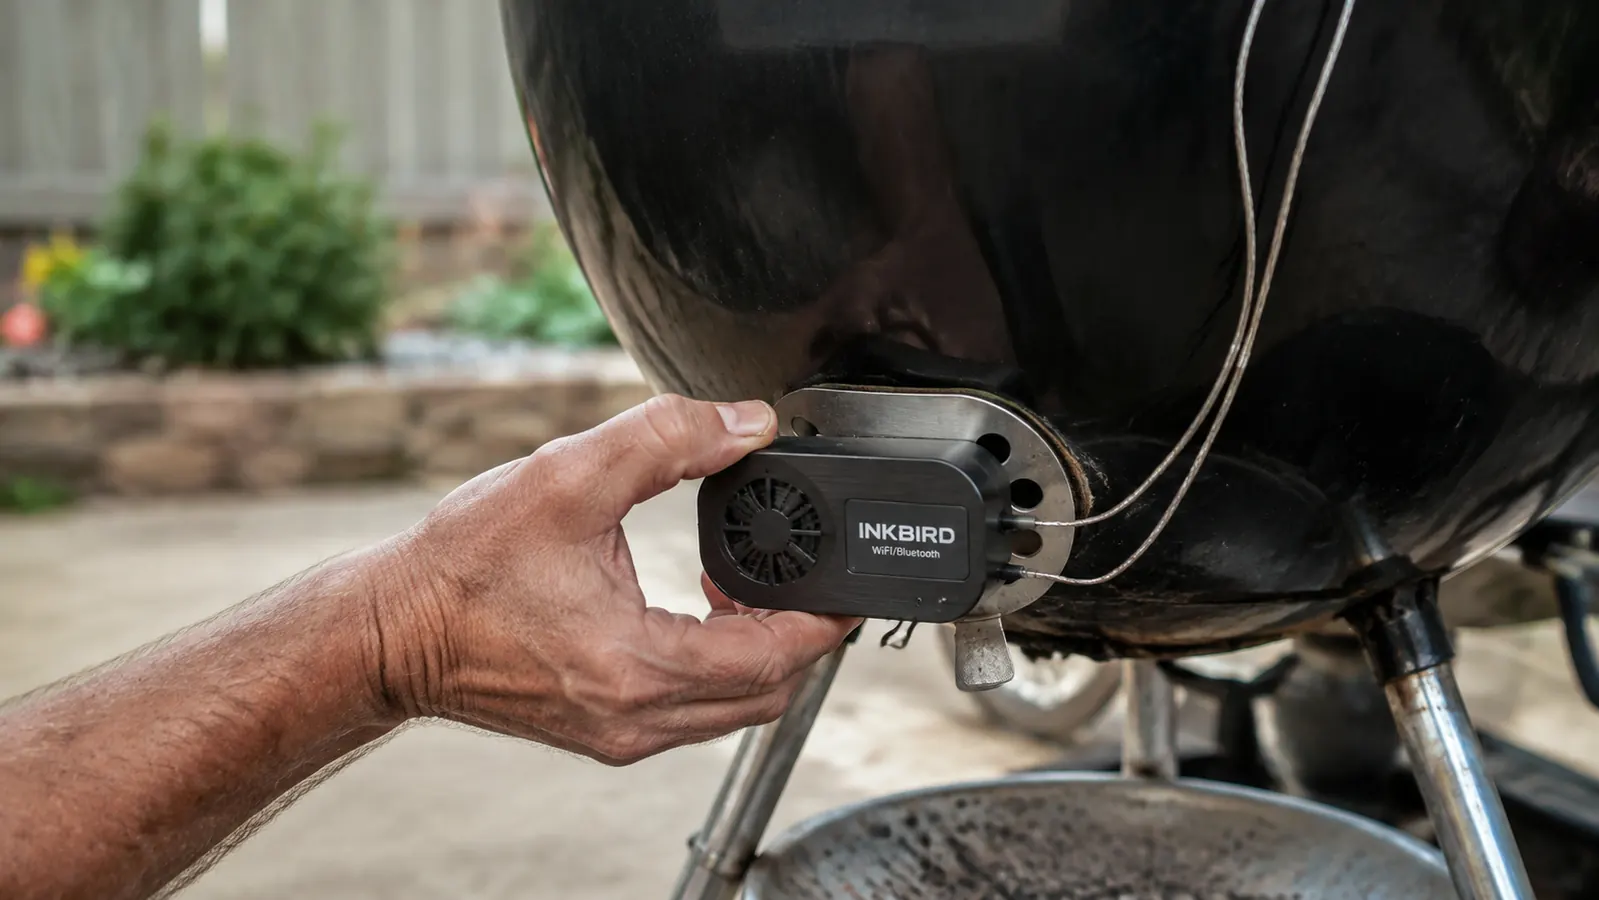
Start with the fan module itself, not the app. The fan clips onto the lower intake vent on my kettle, the same three-holed cast door I used to crack open and closed by hand for years before I ever bothered comparing that habit to an automatic setup. It has to seat flush against the vent opening or you'll get outside air sneaking in around the edges that the controller can't account for, which is exactly what happened to me the first time I mounted it crooked and couldn't figure out why my chamber kept climbing past target.
Gil borrowed my spare mounting bracket the week before that same brisket and, true to form, never brought it back, so I keep a second washer kit in the tool drawer now just in case. Whatever grill you're running it on, make sure the gasket sits flat and the clip tension actually holds, because a loose fan rattling against the vent all night is its own kind of problem you don't need.
Once it's mounted, close every other vent and damper on the grill except the one the fan controls. The whole system only works if the fan is the only path for air getting to the fire. Leave a second vent cracked open out of habit and the controller will spend all night fighting a fire it can't fully control, which was the second mistake I made on that same cook. It took me three cooks to break that habit for good.
Step 2: Place Your Probes Where They'll Tell You the Truth
The chamber probe is the one doing the real work, and where you clip it matters more than people think. I run mine at grate level, near the meat but not touching it and not close enough to the fire to catch hot spikes that don't reflect what's actually cooking the brisket. Clipped up near the lid, you'll read a hotter number than what's happening down at grate level, and the fan will end up chasing the wrong temperature all night.
The meat probe is a separate thing entirely, and it's easy to mix the two up on a cold morning before coffee. That one goes into the thickest part of the flat, away from bone and away from any fat pocket that'll give you a false reading. I learned this the hard way once, checking a probe I thought was reading internal temp that was actually sitting in a seam of fat, telling me the brisket was done two hours before it actually was.
Run both wires along the same path out of the lid, through the vent notch built into most kettles, so you're not pinching them under the lid edge every time you check the meat. A pinched wire that shorts out at 3am means you wake up to no data at all, which defeats the entire point of setting this up in the first place.
Step 3: Set Your Target Temperature and Let the App Take Over
This is where the Inkbird app comes in, and it's simpler than the mounting and probe work that comes before it. Set your chamber target, 225 to 250 degrees depending on what you're smoking, and set a high and low alert range around it. I run mine at plus or minus 15 degrees. Once that's dialed in, the fan takes over completely, spinning up to push more oxygen into the fire when the chamber drops and backing off when it's running hot.
I keep the app open on my phone for the first thirty minutes of any new cook just to watch how the fan responds, then I close it and go about my evening. That first half hour tells you everything, whether your fire's built right, whether a vent's leaking somewhere you missed, whether the fan's cycling smoothly or hunting up and down chasing a target it can't quite hold.
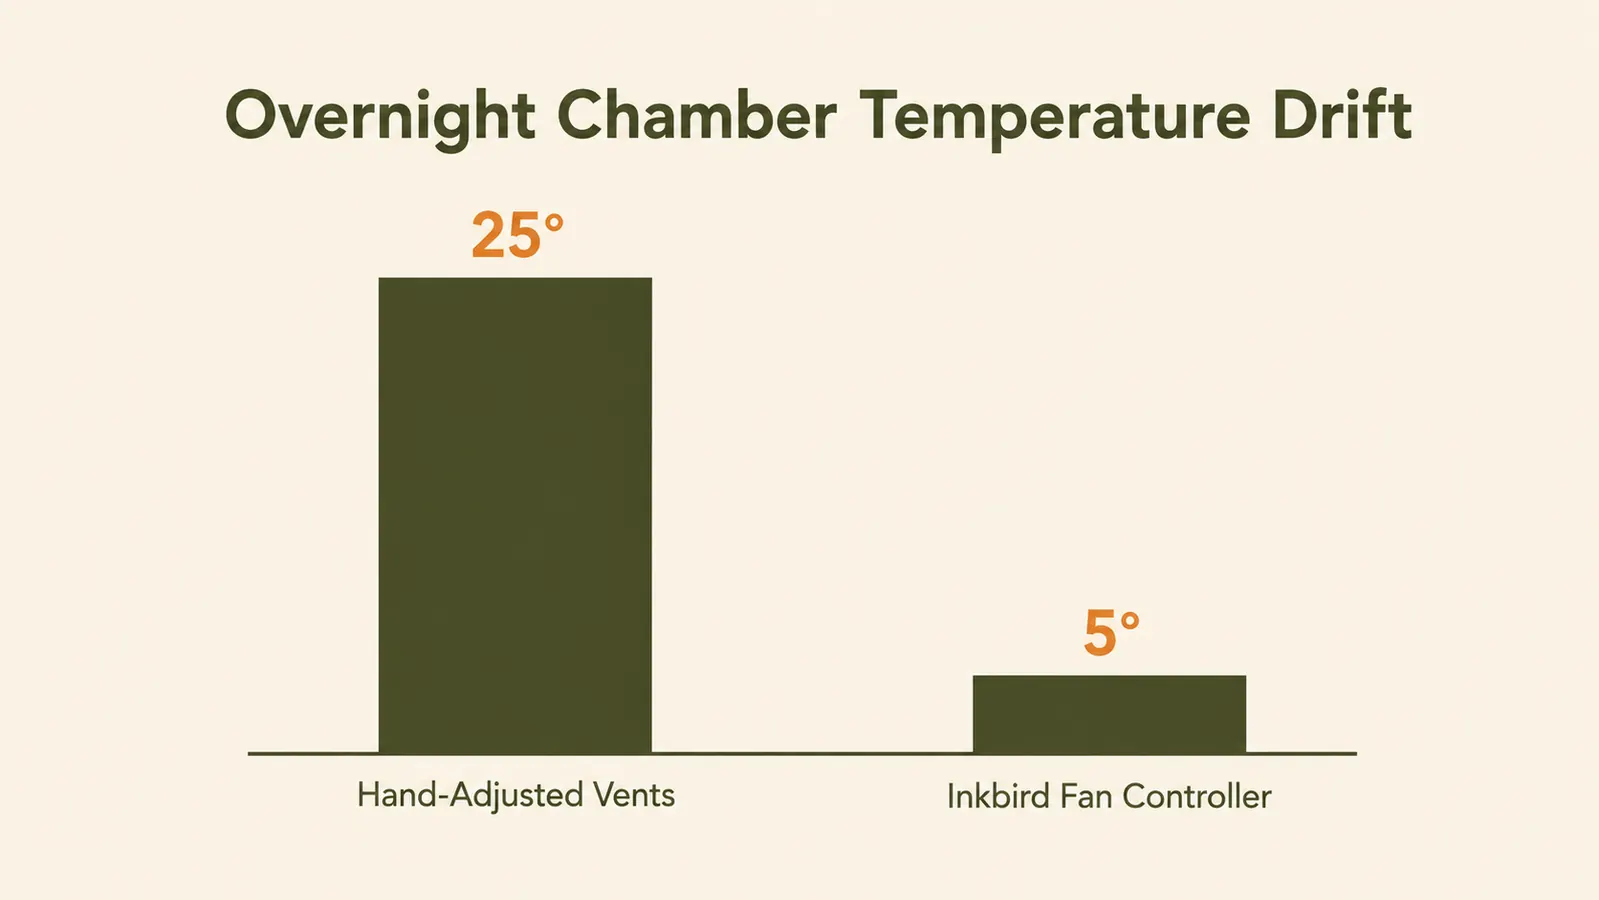
The Inkbird pings your phone if the chamber drifts outside that alert range, which is the whole reason I trust it through the night instead of setting an alarm every two hours like I used to. On a normal night I don't get a single alert, which usually means the chamber never drifted more than about five degrees off target the whole night, compared to the twenty to thirty degree swings I'd get adjusting vents by hand every couple of hours.
Step 4: Build the Fire So the Controller Has Something to Work With
None of this works if the fire underneath it is built wrong to start. I use the minion method for anything running longer than six hours, a ring of unlit charcoal around the edge of the kettle with a chimney of lit coals poured into one end. That gives the fire hours of fuel to burn through gradually instead of one big bed of coals that peaks early and fades by 2am, no matter how good the fan is at managing airflow.
A fan controller can slow a fire down or speed it up, but it can't make a fire that's about to run out of fuel keep burning. I found that out on a cook where I underestimated how much charcoal a fourteen-hour brisket actually needs and woke up to a chamber temp sliding, because the fan was already running full speed with nothing left to work with. Build more fire than you think you need, especially the first few times you run this.
Wood chunks buried in the unlit ring give you smoke through the whole cook without you having to add anything mid-way through. I bury four or five chunks spaced evenly around the ring so the fire picks up fresh smoke as it burns through each section overnight, instead of one big smoky blast in the first hour that tapers off long before the brisket's actually done. Match the wood to the fuel, not the clock, and you won't have to touch the fire again until morning.
Step 5: Check In Without Taking Over
The hardest habit to break isn't technical, it's resisting the urge to open the lid and look. Every time you lift it, you dump heat and smoke, and the fan has to work overtime to recover a chamber that didn't need fixing in the first place. I check the app instead of the grill itself for the first eight hours of any overnight cook, and I only lift the lid when the meat probe tells me it's actually time to wrap or pull.
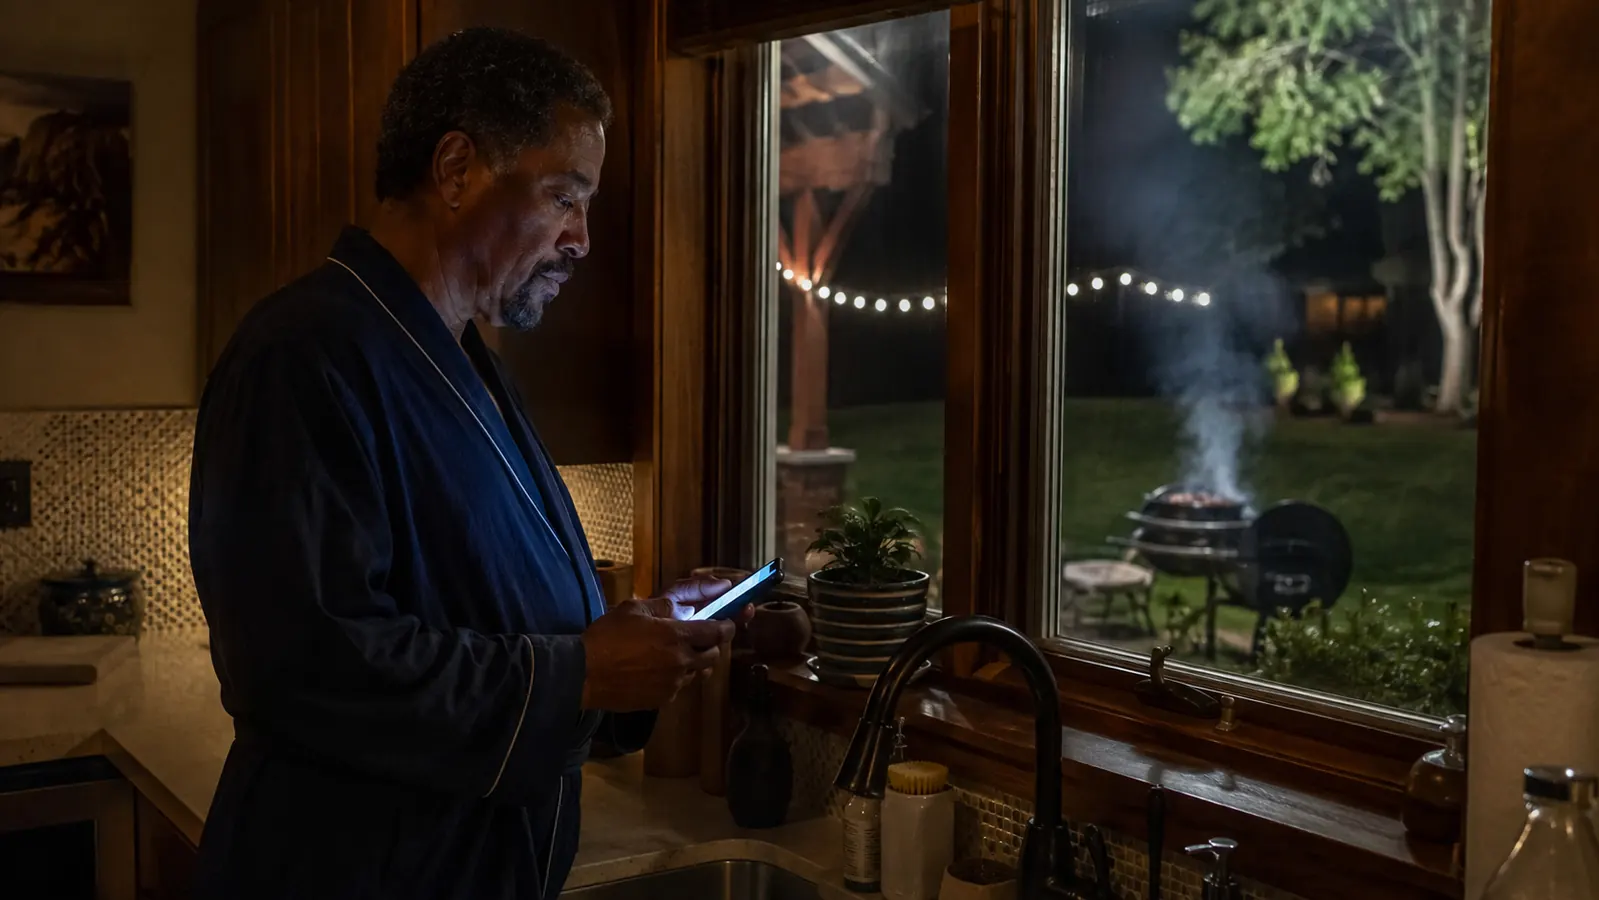
Renata used to tease me about sleeping with my phone face-up on the nightstand on cook nights, screen glowing with the chamber graph, but that's really the whole point of setting it up this way. I'm not standing at the grill anymore. I'm asleep, and the fire's still doing exactly what I told it to do six hours earlier. It's the same setup that finally got me through the overnight brisket that talked me into buying one in the first place.
By morning, check the graph the app saved overnight before you check the meat. If the line's flat and boring, that's a good cook. If it's jagged with a few spikes, that usually tells you which vent leaked or where a gust of wind got past the fan, which is useful the next time you build the fire on that same grill.
What Else Helps
A fan controller earns its keep on long cooks, but it's not doing this alone. A cheap grill thermometer clipped to the lid vent will read differently than what's happening at grate level, so don't trust it over the Inkbird's own probe if the two disagree, they're not measuring the same thing. Keeping your kettle out of direct wind, even just angling it so the intake vent isn't facing straight into a gust, takes real work off the fan's plate before the night even starts.
I've also learned to write down what fire I built and how much charcoal I used after every cook that ran overnight, because that's the variable the controller can't fix for you. The Inkbird will hold whatever fire you give it steady all night, but it still needs enough fuel and a decent seal on the grill to work with. Get those two things right, keep the wire connections dry if there's any chance of rain, and the rest of the night mostly takes care of itself.
Charge the controller's base unit before any cook that's going to run past midnight, and keep your router within reasonable range of the patio if you're leaning on the Wi-Fi side of it instead of Bluetooth. I lost the app connection for twenty minutes on one cook because I'd moved the grill farther from the house than usual, and even though the fan kept doing its job the whole time, not being able to check in made for a rough hour of guessing until the signal came back.
The best cook I ever ran overnight was the one where I checked the app twice and never once opened the lid.
Ready to actually sleep through your next overnight brisket?
See today's price and current availability on the Inkbird Wi-Fi and Bluetooth BBQ Smoker Temperature Controller on Amazon before you build your next fire.
Amazon Check Today's Price on Amazon →